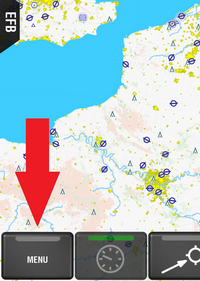
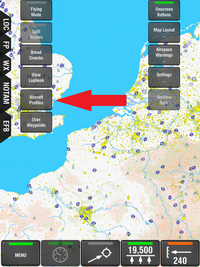
- Tap the Menu button, then tap the Aircraft Profiles button.
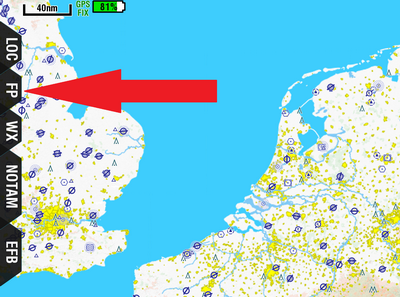
- Alternatively, if you have a FlightPlan already loaded then
- tap the FP tab to open the FlightPlan tab:
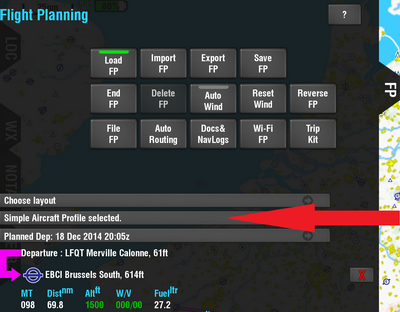
- then tap the Aircraft Profile button, which will contain the name and callsign of the currently loaded aircraft.
This screen can look a little different depending on what Aircraft Profile you currently have loaded.
- Let's start with the basic concepts. There are two possibilities with Aircraft Profiles:
- You can use the simple aircraft mode. This just has some basic predefined performance data that you can change if you wish.
- You can create your own customised Aircraft Profile.
 I - SIMPLE MODE.
When you first use Aircraft Profiles, you will be in the simple mode and the screen will look like this:
The only settings that are available when the simple mode is selected, is some basic performance data about speeds, fuel consumption and rate of change in altitude. These are pre-set with some default data. While you don't have to, you can easily change these if you wish to get more accurate leg times and fuel consumption figures.
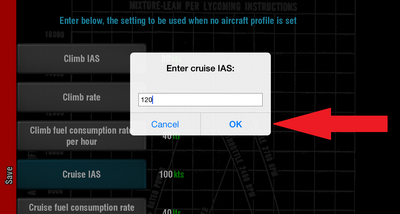
- To change one of the values, tap the button associated with it. For example, to change the cruise speed to 120 KTS:
- Tap the Cruise IAS button.
- In the pop-up, type "120".
- Tap OK.
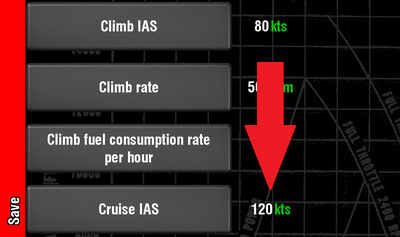
- You can easily see these values in different units, by tapping the values. For example, the cruise IAS should now be set to 120 KTS if you followed the steps above.
- So tap the "120 KTS" and it will change to 222 km/h.
- Tap it again and it will change to 138 Mph
- Tap it again and it will change to 62 m/s.
- One more time, and you're back at 120 KTS.
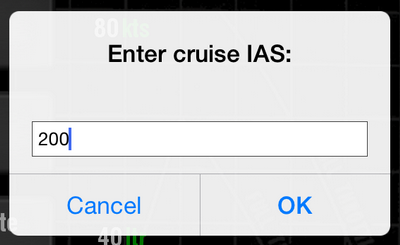
- One thing to note here is that when you are entering the value, the numbers you are entering are in the units shown. So for example, if you wished to enter a cruise speed of 200 km/h, then all you have to do is:
- Tap the Cruise IAS numbers until they show in km/h.
- Tap the Cruise IAS button, enter the number "200" and tap OK.
You can now cycle though the values by tapping the 200 km/h to see it in different units if you wish.
- The second thing to remember is that all speeds entered here are IAS. EasyVFR will recalculate the TAS as your altitude increases assuming that you keep the IAS constant as you fly. It will also take account of a normally aspirated engine's reduction in performance as it continues to climb beyond a certain level.
If you wish to use the simple mode, then these are the only values that you need to be concerned about.
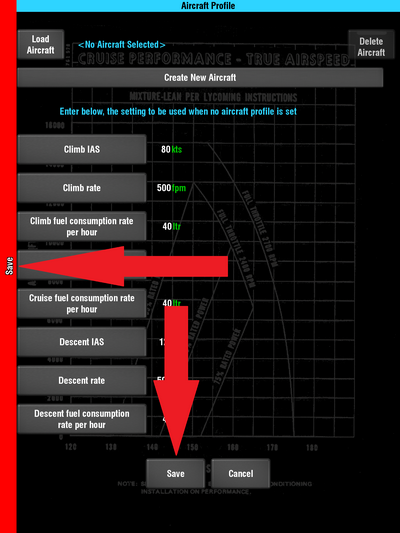
- To save your changes, tap either the Save button at the bottom of the screen, or the red “Save Bar” along the left of the screen.
You will now be returned to the previous screen and the data will be saved. If you are connected to the internet, then it will also be saved to the PocketFMS Cloud, to sync with your other devices.
II - CREATING A CUSTOM PROFILE.
Creating your own customised Aircraft Profile is simple and easy.
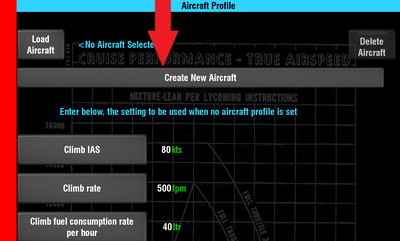
- Tap the Create New Aircraft button.
A few things have changed now:
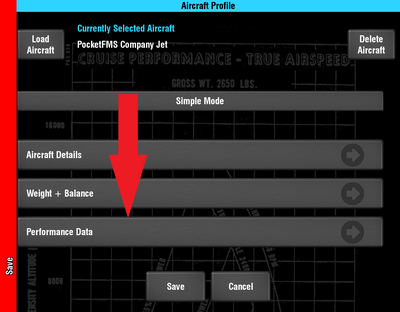
- The selected aircraft name becomes "New Aircraft". The Create New Aircraft button disappears (as we've just started to create one!) and a Simple Mode button now appears. Tapping it removes this custom Aircraft Profile, and returns you to the simple mode aircraft.
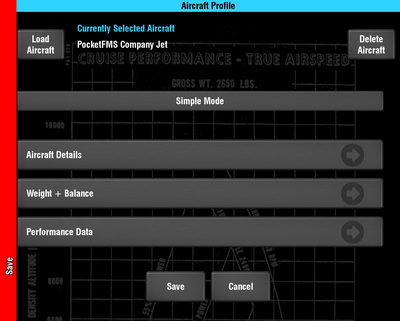
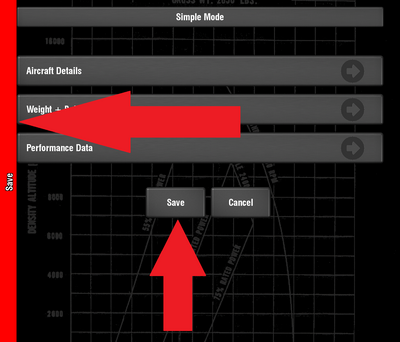
Three options appear for customising this aircraft:
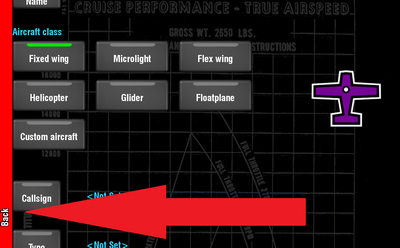
- Aircraft Details which stores details such as callsign, equipment and suitable runways etc.
- Weight + Balance which stores details of the weight & balance of the aircraft.
- Performance Data which stores details about the speed, fuel consumption and rate of altitude change of the aircraft.
- Before we can save this aircraft profile, we need to do two things. Firstly we need to give it a name other than "New Aircraft", and secondly we need to give it some performance data to be used in flight planning.
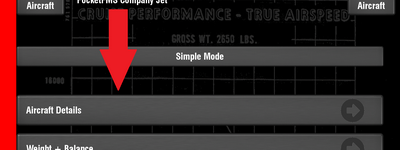
- So first let's give it a name. Tap "Aircraft Details".
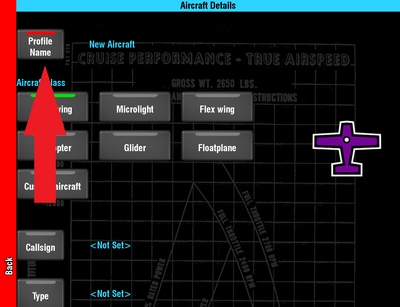
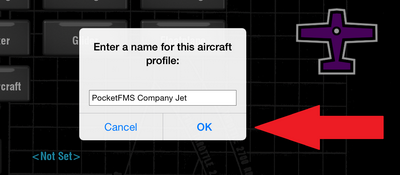
- Now tap Profile Name.
- Type in a new name for this Aircraft Profile and press OK. This name can be anything that you like, which makes it easy to identify this aircraft. It's what you will see when you are selecting an Aircraft Profile to use in the future, and what you will see on the FlightPlan tab to indicate which aircraft is being used for the planned flight, and it will be used in various places in the "TripKit". (See our separate tutorial on the TripKit).
- Now let's set the performance data. To exit the "Aircraft Details" screen, tap once on the "Back Bar" on the left hand side.
- Now tap the Performance Data button to enter the performance data entry screen.
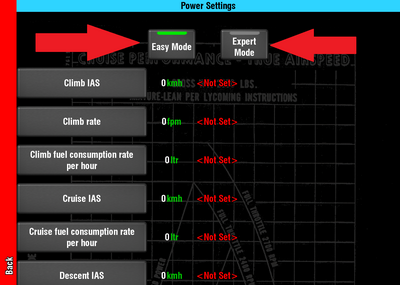
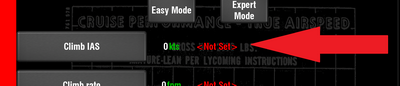
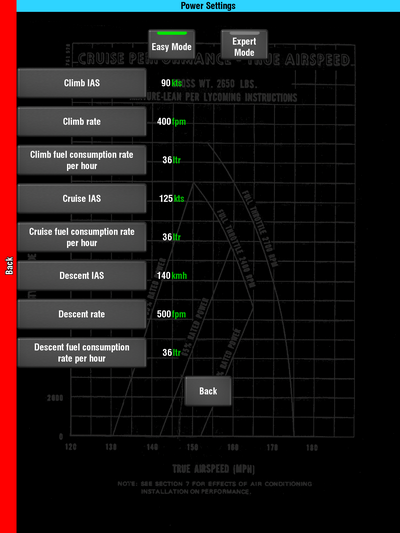
- Here we enter the performance data for this aircraft. You have two options: Easy Mode and Expert Mode.
For most users Easy Mode will be sufficient. It allows you to enter basic performance data for speed, fuel consumption and rate of change in altitude, for sea level performance. EasyVFR will automatically calculate your increased TAS with increased altitude and will take account of the drop off in performance in a normally aspirated engine as you climb above a certain altitude.
However if you want to enter more detailed performance data, to get more accurate calculations, or because you fly a turbo equipped aircraft that doesn't suffer reduced performance with altitude, then you can use the Expert Mode. All speed values entered in Easy Mode are IAS and in Expert Mode are TAS.
One thing to note here is that Easy Mode and Expert Mode are incompatible with each other. You can only have one or the other defined for an aircraft. So if you have Easy Mode data set and change to Expert Mode, then all your settings for Easy Mode for that aircraft will be lost, and vice versa.
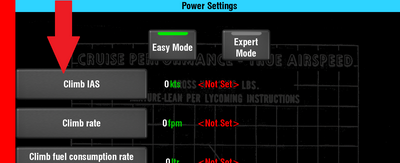
- Let's use the Easy Mode. This looks just like the performance data for the simple mode, which was described in an earlier section above. However none of the data has been prepopulated. You will need to enter all of these items.
If you don't know any of them, then don't worry. Enter your best estimate now, and you can always change them later.
- For the purpose of this tutorial, we're going to assume that your climb IAS is 80 KTS. The speed is shown currently as "0" and whatever your default units are. As we want to enter KTS, tap the "0" which is opposite the button Climb IAS, until it reads "0 KTS". We are now entering KTS values.
- To set the Climb IAS tap the Climb IAS button. A pop-up will appear.
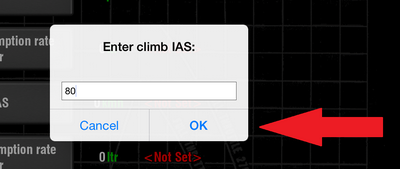
- In the pop-up, type the climb IAS of your aircraft. So in this case type in "80".
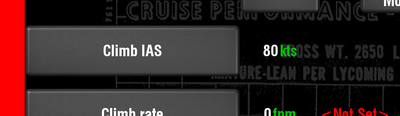
- Tap OK. The speed should now be shown as 80 KTS.
Now you can easily see this value in different units, by tapping the value, as explained above. Again please remember: when you are entering the value, the numbers you are entering are in the units shown.
- You need to go through all 8 of these settings and give them a value. However as mentioned above, if you don't know any of them, then don't worry. Just enter your best estimate now, and you can always change them later
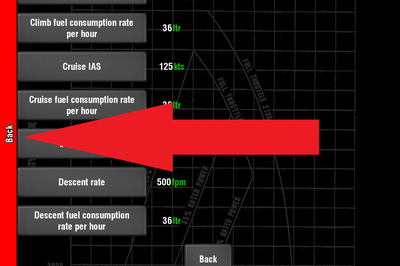
- That is all you need to do to set up a basic Aircraft Profile. Now we need to save our work. So tap the red "Back Bar" on the left hand side of the screen or the Back button at the screen bottom. This will return you to the main Aircraft Profiles screen.
- Now tap the red "Save Bar" on the left hand side (or the Save button at the bottom).
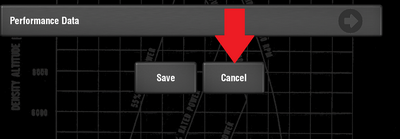
If for some reason you don't wish to save this Aircraft Profile and want to abandon the changes, you can instead tap the Cancel button on the bottom, and this Aircraft Profile (or if you've previously loaded one: any changes that were made) will not be saved.
- Once the Profile has been saved and you are connected to the internet, EasyVFR will attempt to save it to the PocketFMS Cloud to sync across all your devices. You will get a message after a few seconds telling you if the Aircraft Profile was successfully saved to the PocketFMS Cloud or not.
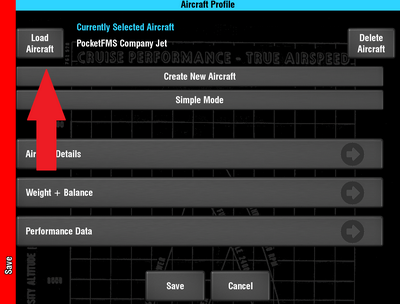
- If you later wish to load an Aircraft Profile, then call up the main Aircraft Profiles screen, and tap the Load Aircraft button. If you are connected to the internet then EasyVFR will check with the PocketFMS Cloud to see if there are any new Aircraft Profiles there, and if so, it will download them to your device.
- You'll now see a list of available Aircraft Profiles. Tap the name of the Profile that you want, and it will be loaded for you.
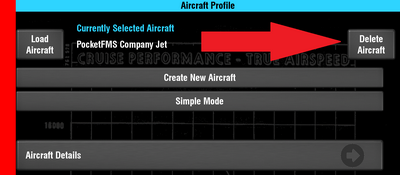
- If you wish to delete an Aircraft Profile from your device, then first load it as described above. Then when its name is shown as the "Currently Selected Aircraft", press the Delete Aircraft button, and this Profile will be removed from your device.
You've now set up the basics of your first Aircraft Profile, and saved it to your device and to the PocketFMS Cloud. For further guidance on the other settings in Aircraft Profiles and getting the most out of the Aircraft Profiles function, see the other Aircraft Profiles tutorials.